
How To Draw A Rose Step By Step. Embarking on the journey of drawing a rose can be both exciting and therapeutic. Whether you’re a seasoned artist or a beginner with a passion for creativity, learning how to draw a rose step by step is a rewarding endeavor that allows you to capture the timeless beauty of nature on paper.
Understanding the Basics
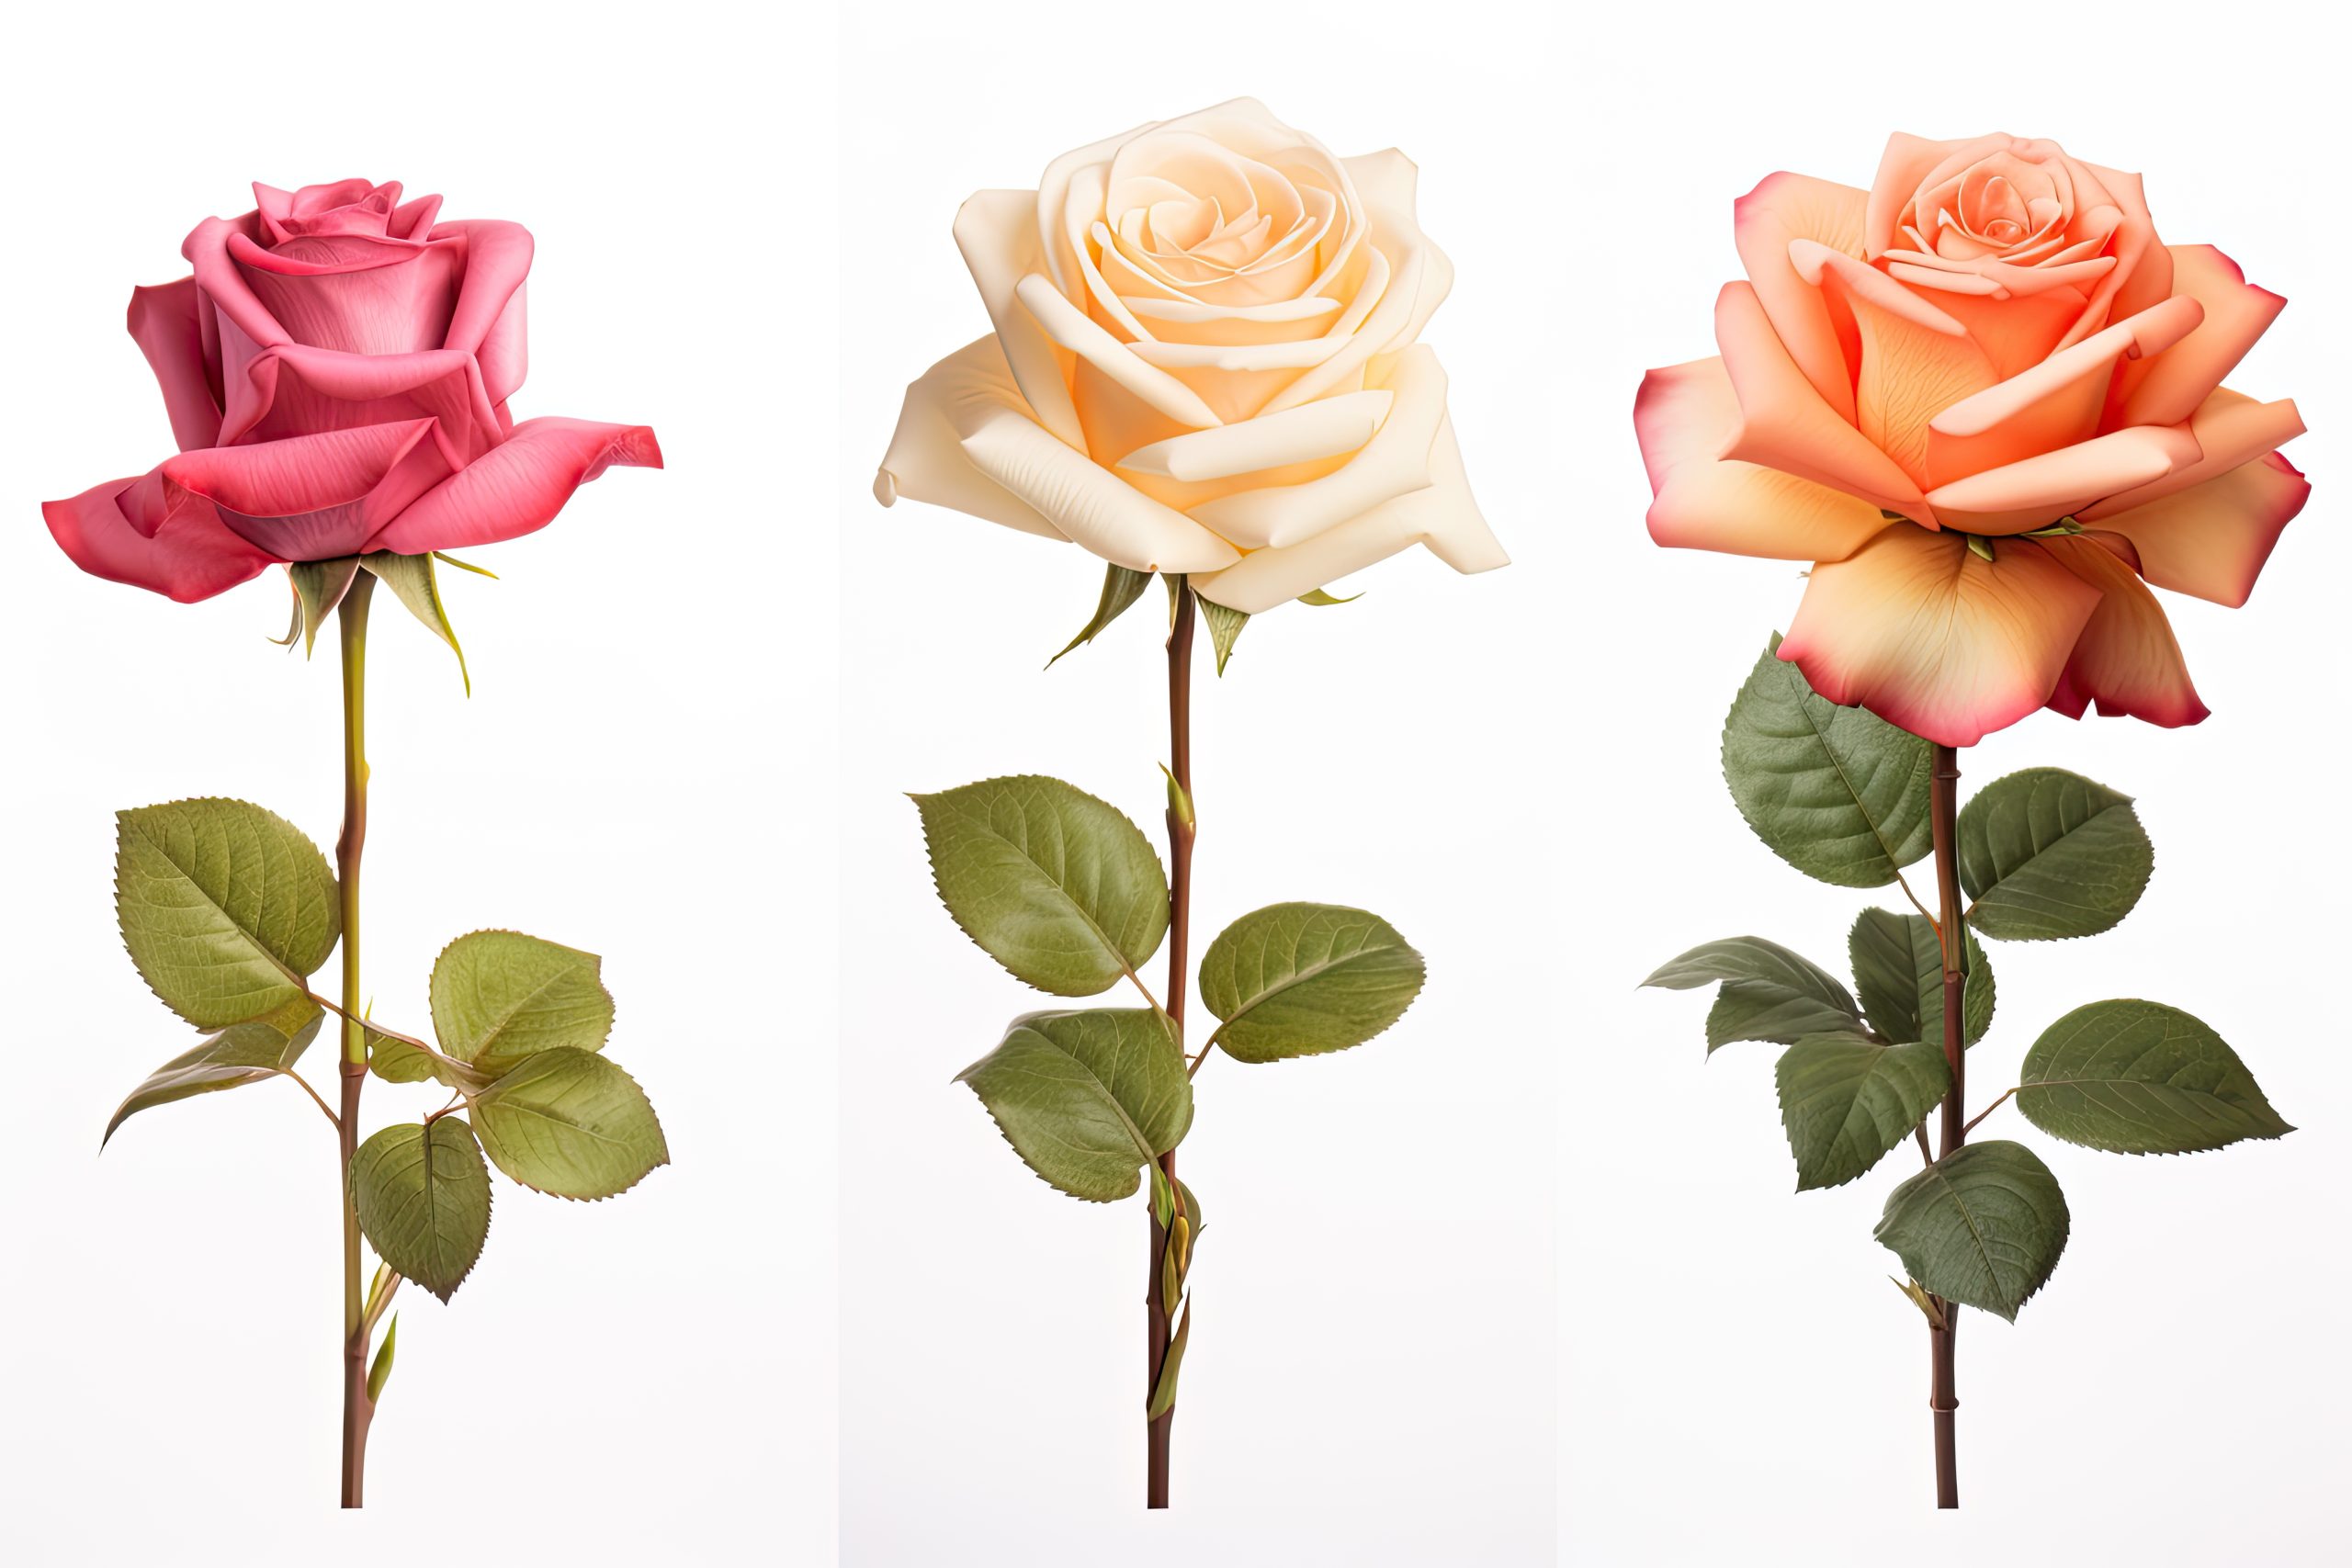
Before we dive into the step-by-step process, let’s explore the basic elements of a rose. A rose typically consists of petals, a central bud, stem, and leaves. Familiarizing yourself with these components lays the foundation for creating a lifelike representation.
Gathering Your Materials
To begin your artistic adventure, gather the essential materials. Quality drawing paper and a set of pencils ranging from 2H to 6B are ideal for achieving depth and detail in your rose drawing. Additionally, having a good eraser and sharpener on hand ensures a smooth creative process.
Step 1: Sketching the Basic Shape
Start by lightly sketching the basic shape of the rose. Use a 2H pencil to outline the circular form of the bud and the elongated shape of the stem. Don’t worry about perfection at this stage; focus on capturing the overall structure.
Step 2: Outlining Petals
With a 4B pencil, carefully outline the petals. Roses typically have layers of petals, and each layer should be drawn with attention to detail. Use soft, flowing lines to bring out the delicate nature of the petals.
Step 3: Adding Details to the Bud
Zoom in on the central bud, adding intricate details. Highlight folds and creases, using varying pencil pressures to create depth. The bud is the focal point, so investing time in refining its details will elevate the entire drawing.
Step 4: Crafting Realistic Leaves
Extend your focus to the leaves. Draw each leaf individually, paying attention to their jagged edges and veins. Employ a combination of light and dark shading to create a three-dimensional effect.
Step 5: Refining the Stem
Give attention to the stem, adding texture and detail. A 2B pencil works well for the stem, allowing you to create a balance between thickness and subtlety.
Step 6: Shading for Realism
Now comes the magic of shading. Using a 6B pencil, add shading to the petals, bud, leaves, and stem. Focus on creating contrast to make your rose come alive on paper. Be patient and build up layers gradually for a more realistic effect.
Step 7: Fine-Tuning and Smoothing
Take a step back and assess your drawing. Use an eraser to refine any lines or details that may need adjustment. Smooth out transitions between light and dark areas, ensuring a cohesive and polished look.
Step 8: Adding Final Details
Fine-tune your drawing by adding any remaining details. Consider subtle highlights on petals, the play of light on leaves, and small imperfections that add authenticity to your artwork.
Step 9: Bringing Color to Your Rose (Optional)
While your pencil drawing captures the essence of a rose, adding color can enhance its beauty. Consider using colored pencils or watercolors for a vibrant finish.
Step 10: Stepping Back to Admire Your Creation
In the final step, take a moment to step back and admire your masterpiece. Drawing a rose is not just about replicating nature; it’s about expressing your creativity. Embrace imperfections and celebrate the uniqueness of your creation.
Conclusion
Drawing a rose step by step is a fulfilling artistic endeavor that allows you to connect with nature on a deeper level. By following these steps and infusing your unique style, you can create a stunning representation of one of nature’s most iconic symbols. So, pick up your pencils, unleash your creativity, and let the beauty of a hand-drawn rose bloom on your canvas.